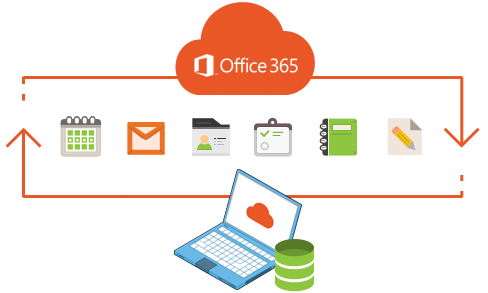
No matter how big or small your business volume is, everyone needs a mail application to keep the work flowing. Among them, Office 365 (also known as Microsoft 365) has now become a new preference in the corporate world. Also, you need to first take care of those things that are necessary for your business workflow. This means that you need to backup Office 365 mailbox to a desktop or local PC to protect yourself from external threats.
Microsoft hasn’t provided native options as a backup solution for Outlook 365. Due to this inaccessibility, people usually worry about how to backup Office 365 emails to desktop or local drive. Luckily! We provide you with the best solution. Keep reading!
Method to Backup Office 365 Mailbox to desktop
In this tutorial, we will focus on three possible backup methods here:
- Use MS Outlook application for backup
- Use eDiscovery to backup email messages from Office 365
- Use automated tools to backup Office 365 mailboxes
Method 1: Use MS Outlook To Take Office 365 Backup
- First, launch the MS Outlook application
- Then, set up your Office 365 account in Outlook.
- Go to the File menu and click on the Import / Export option
- From the import & export wizard, choose the “Export to file” option & then Outlook data file (.pst)
- Now, select the folder you want to send and check the “Include subfolders” box
- Finally, press the “Finish” button to start the export process
Method 2: Use electronic data view to Backup Office 365 mailboxes
The eDiscovery is a built-in Office 365 utility that can backup your mail, contacts, calendar and other items. Proceed as follows:
- Start Office 365 and enter your login credentials
- Now go to the Office 365 admin center and then to the Security and Compliance Center
- Click permissions and edit the eDiscovery Manager role group
- Choose the export from the options provided
- Click on the search and poll option and hit the Add button to start a new content. Enter the new name and press the Next button
- Now, pick “Search everywhere” and look for “Exchange to export all mailboxes” box
- Provide the filter of your choice and click “Search”. Next, click on the start button
- From “Content Search” dialog box, click on the “Download Export Results”. Create export key and copy to clipboard
- Open the eDiscovery export tool and paste this export key. Provide a destination to save the data to the desktop
Use Automated tools to Backup Emails from Office 365 Mailboxes
As we have seen, this manual method is extremely tedious and boring. Also, errors sometimes occur when backing up Office 365 mailboxes via eDiscovery. Also, if you are using Windows Internet Explorer 9.0 or later, the application will hang when trying to connect, but no error message will be displayed.
Therefore, please consider customer development needs and problems faced by users. The Microsoft Office 365 Export Tool is a complete automated solution that can quickly perform backup emails from Office 365.
In addition, Office 365 administrators or simulated authorized users can export a large number of Office 365 client messages and various items in PST format with just a few clicks. It is designed to avoid the restrictions imposed by manual methods. Also, the tool will track the integrity of the data.
Steps to backup your Office 365 mailbox in the required format
- First, install the software and enter your administrator credentials
- Now select the folder to export
- Select “Export Type” and “Apply Filter”
- Click “Start” to begin the backup of Office 365 mailboxes
- Finally, click on the “Save Report” option
Conclusion
For various security reasons, many Office 365 users have been looking for ways to backup their Office 365 mailboxes. The manual techniques described in this blog are very lengthy. Therefore, customers who are just starting out neglect to implement these methods. Therefore, to easily backup Office 365 mailboxes, use the above automated tools. It is a powerful tool that does not require a lot of professional knowledge.
Related Post: How to Migrate PST File From Office 365
